First, I'd like to apologize about the lateness of this post. I wanted to post earlier but had last minute present things to do. Well, I don't want to delay this any further as I am SOOOO EXCITED about what I have to show you. I got it today and couldn't wait!
The box! How cute is that!
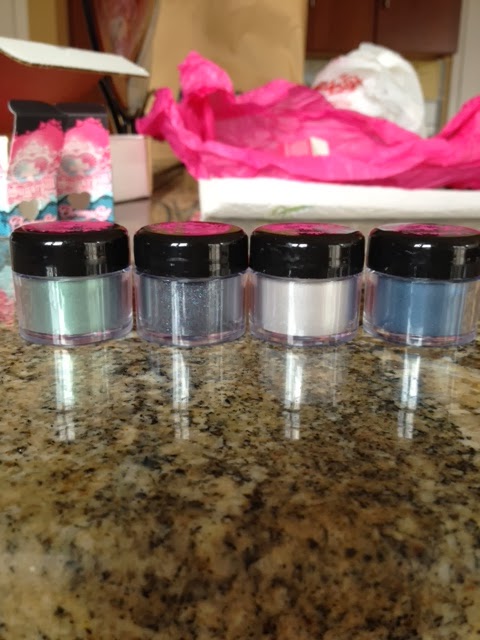
My four eyeshadows: Junebug, Tiara, Magpie, Stella
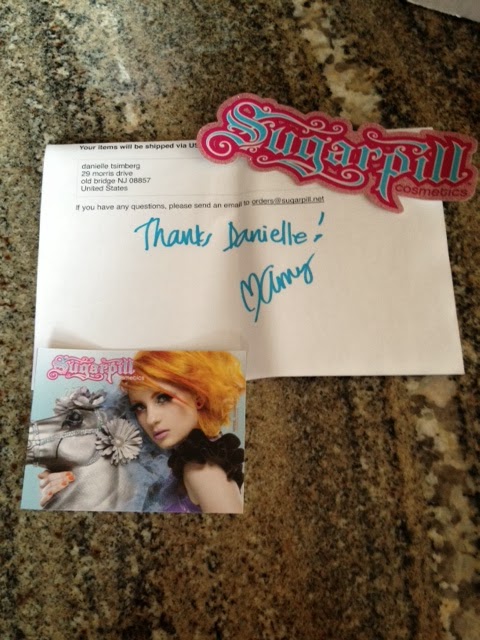
The creator, Amy, signs all packing slips and even includes this cute postcard thing and awesome sticker!
Junebug, Stella
Magpie, Tiara
All the shadows have a little symbol that goes along with the name, most of them are vegan and all of them are cruelty free.
The tops of the bottles are imprinted with the logo, not stickers! And the bottoms are the same as the bottoms of the boxes.
Junebug, Stella, Tiara, Magpie
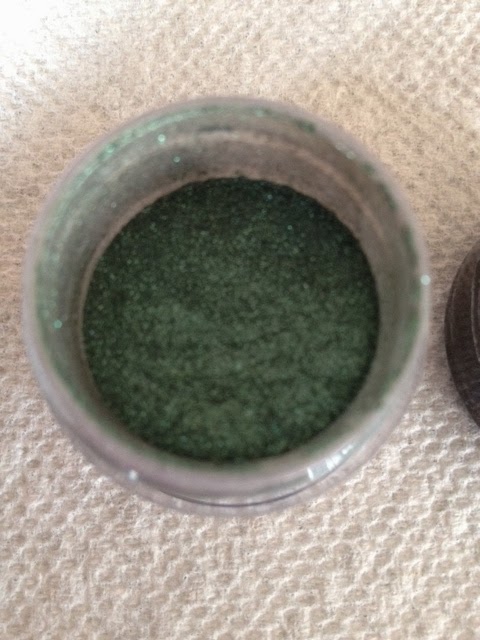
Junebug- Metallic forest green
Stella- Black with blue, pink and purple glitter
Tiara- Silver
Magpie- Metallic dark almost navy blue
Junebug
Left: swatched on bare skin.
Right: swatched over Urban Decay Primer Potion
Bottom: swatched wet
Stella (top)
Left: swatched on bare skin
Middle: swatched wet
Right: swatched over Urban Decay Primer Potion
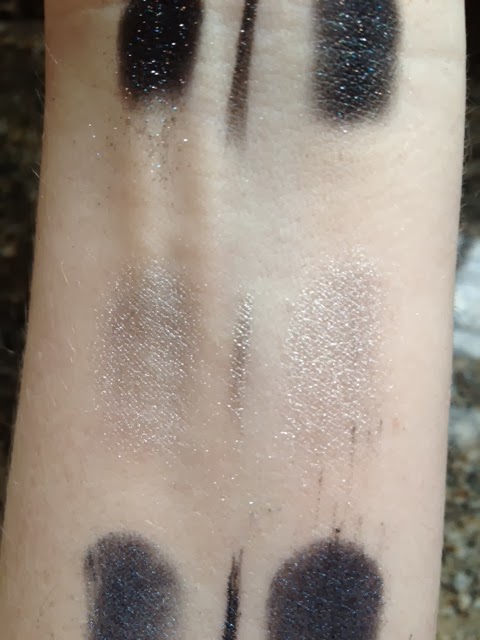
Tiara (middle)
Left: swatched on bare skin
Middle: swatched wet
Right: swatched over Urban Decay Primer Potion
Magpie (bottom)
Left: swatched on bare skin
Middle: swatched wet
Right: swatched over Urban Decay Primer Potion
First and foremost, you need to enlarge these to see the amazing detail and glitter in all the shadows. They are really opaque, but since they are loose shadows I really suggest a primer. You can see from my photos that primer intensifies the color and also really helps with staying power. It took me forever to wash off the primed swatches.
The quality of these shadows is awesome. Even with the amount of glitter and shimmer in each they are really soft, not at all gritty. Also, the price of these is great for the amount that you get for the money. It's $12 for 5 grams compared to MACs pigments that are 4.5 grams for $20.
In terms of the company as a whole, I love it completely. Sugarpill was started by Amy Doan (aka Shrinkle). She really takes so much care in everything she does, from the packaging to hand signing every packing slip to the fantastic quality of her products. You can see these shadows and a whole line of other loose and pressed shadows here :
http://www.sugarpillshop.com/
Until next time,
The Wicked


